Mastering Photography Lighting Techniques: Lighting Tips for Photographers
- Allen Mohammadzadeh
- Apr 2
- 4 min read

Lighting is the heart of every great photograph. Without the right light, even the most skilled photographer can struggle to capture a compelling image. Over the years, I have learned that understanding and mastering lighting can transform your photos from ordinary to extraordinary. Whether you are shooting portraits, products, or landscapes, the way you use light shapes the mood, highlights details, and tells your story.
In this post, I will share practical lighting tips for photographers that anyone can apply. These ideas will help you control light better, create stunning effects, and feel more confident behind the camera. Let’s dive in and explore how to make light work for you.
Essential Lighting Tips for Photographers
Good lighting doesn’t have to be complicated. The key is to observe and experiment. Here are some simple yet powerful tips to improve your lighting skills:
Use natural light whenever possible. Early morning and late afternoon offer soft, warm light that flatters most subjects. Avoid harsh midday sun that creates strong shadows.
Position your subject wisely. Side lighting adds depth and texture, while front lighting reduces shadows and creates a flat look. Backlighting can create beautiful silhouettes or glowing edges.
Diffuse harsh light. If the light is too strong, soften it with a white sheet, curtain, or a professional diffuser. This reduces glare and harsh shadows.
Reflect light to fill shadows. Use a reflector or even a white piece of cardboard to bounce light back onto your subject. This balances the exposure and adds detail.
Experiment with angles. Move around your subject to see how different angles change the light and mood. Sometimes a small shift can make a big difference.
By practicing these tips, you will start to see light as a creative tool rather than a challenge. Remember, every scene is unique, so take time to explore and adjust.
Understanding Light Quality and Direction
Light quality refers to how soft or hard the light appears. Soft light creates gentle shadows and smooth transitions, while hard light produces sharp shadows and high contrast. Knowing how to control this can elevate your images.
Soft light is ideal for portraits and close-ups. It minimizes wrinkles and blemishes, giving skin a smooth appearance. You can create soft light by shooting on cloudy days or using diffusers.
Hard light works well for dramatic effects, emphasizing texture and shape. It’s perfect for architectural shots or artistic portraits.
Direction also matters. Here are common lighting directions and their effects:
Front lighting: Illuminates the subject evenly but can flatten features.
Side lighting: Adds depth and dimension by casting shadows.
Backlighting: Creates silhouettes or a glowing rim around the subject.
Top lighting: Can create unflattering shadows under the eyes and nose.
Under lighting: Rarely used but can create eerie or dramatic effects.
Try combining these directions with different light qualities to find what suits your style and subject best.
What is the 20 60 20 Rule in Photography?
The 20 60 20 rule is a simple guideline to balance light and shadow in your photos. It suggests that your image should have:
20% of the frame in shadows
60% in midtones
20% in highlights
This balance creates a natural and pleasing contrast that keeps your photo from looking flat or overly harsh. When you apply this rule, you ensure that your image has enough detail in both dark and bright areas.
To use this rule, observe your scene and adjust your lighting or camera settings to achieve this distribution. For example, if your shadows are too dark, add a reflector or increase exposure slightly. If highlights are blown out, reduce light intensity or use a diffuser.
This rule is a helpful starting point, but don’t be afraid to break it for creative effects. The goal is to create a balanced and engaging image.
Creative Lighting Setups You Can Try
Once you feel comfortable with basic lighting, it’s fun to experiment with different setups. Here are a few ideas to inspire you:
Rembrandt Lighting
Named after the famous painter, this setup uses one main light at about 45 degrees to the subject’s face, creating a triangle of light on the cheek opposite the light source. It adds depth and drama to portraits.
Butterfly Lighting
Place the light directly in front and above the subject’s face. This creates a butterfly-shaped shadow under the nose and highlights cheekbones, perfect for glamour shots.
Split Lighting
Light the subject from one side only, splitting the face into light and shadow halves. This is great for moody or mysterious portraits.
Natural Window Light
Use a large window as your light source. Position your subject near the window and use curtains to soften the light. This setup is easy and produces beautiful, natural results.
Golden Hour Magic
Shoot during the hour after sunrise or before sunset. The warm, soft light adds a magical glow to your photos, enhancing colors and textures.
Try these setups with your camera and see how they change the mood and feel of your images. Don’t hesitate to mix and match or add reflectors and diffusers to customize the light.

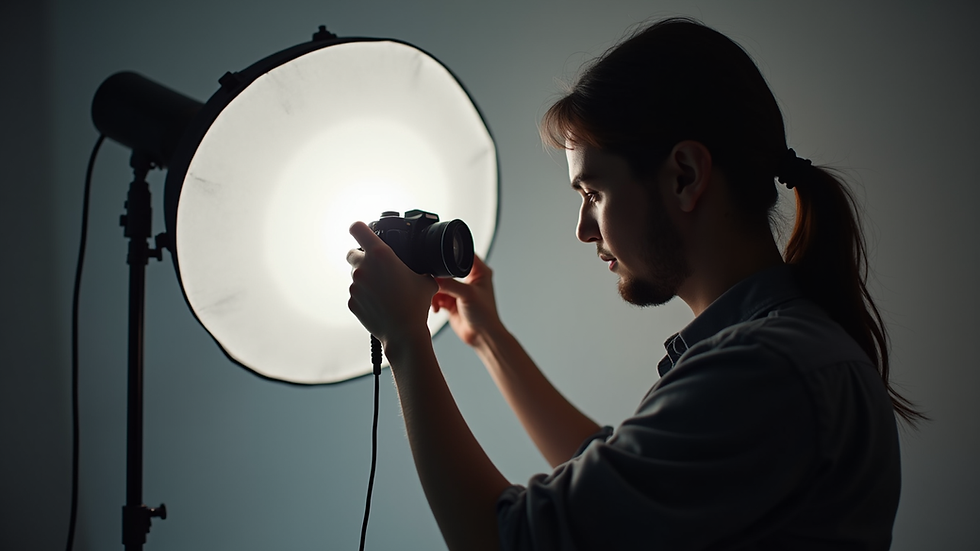
Practical Tips for Using Artificial Light
Artificial light gives you full control over your environment. Here are some practical tips to make the most of it:
Start with one light source. Mastering a single light is easier than juggling multiple. Learn how to position and modify it before adding more.
Use softboxes or umbrellas. These tools spread light evenly and reduce harsh shadows.
Adjust the distance. Moving your light closer softens the light, while moving it away hardens it.
Control color temperature. Different bulbs produce different colors of light. Use gels or adjust your camera settings to keep colors natural.
Experiment with background lighting. Adding a light behind your subject can separate them from the background and add depth.
Artificial lighting can seem intimidating at first, but with practice, it becomes a powerful creative tool. Remember to take notes on your setups so you can recreate your favorite looks.
Bringing It All Together
Mastering lighting is a journey, not a destination. Each photo you take is an opportunity to learn and improve. By applying these lighting tips for photographers, you will gain confidence and create images that truly stand out.
If you want to dive deeper, explore different photography lighting techniques and keep practicing. Lighting is your paintbrush, and the camera is your canvas. Together, they can tell amazing stories.
Keep experimenting, stay curious, and enjoy the process of capturing light in all its beautiful forms. Your next great photo is just a few lighting adjustments away.


Comments